This guide provides a step-by-step process for connecting to WorkfloPlus OData API endpoint from Power BI which allows access to WorkfloPlus job data. Before getting started, ensure you have an API Key which can be obtained from Intoware support - support@intoware.com
Step 1: Open Power BI Desktop
Begin by opening PowerBI Desktop on your computer.
Step 2: Get Data
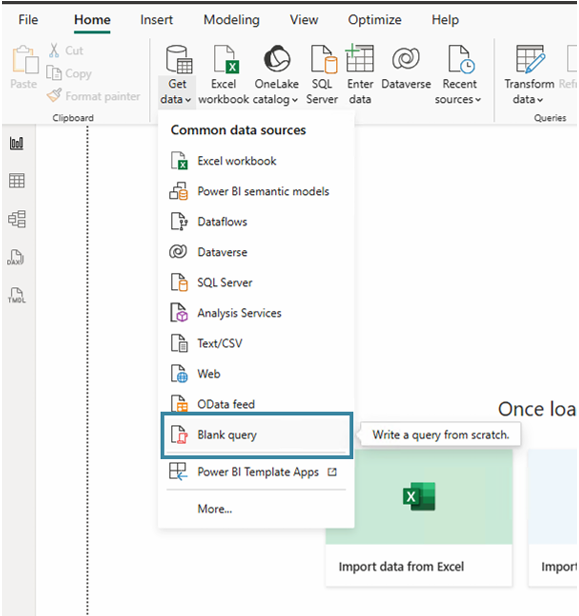
1. In Power BI Desktop, navigate to the Home tab in the ribbon.
2. Click on the Get Data button.
3. From the dropdown menu, select Blank Query.
Step 3: Configure OData Feed URL + API Key
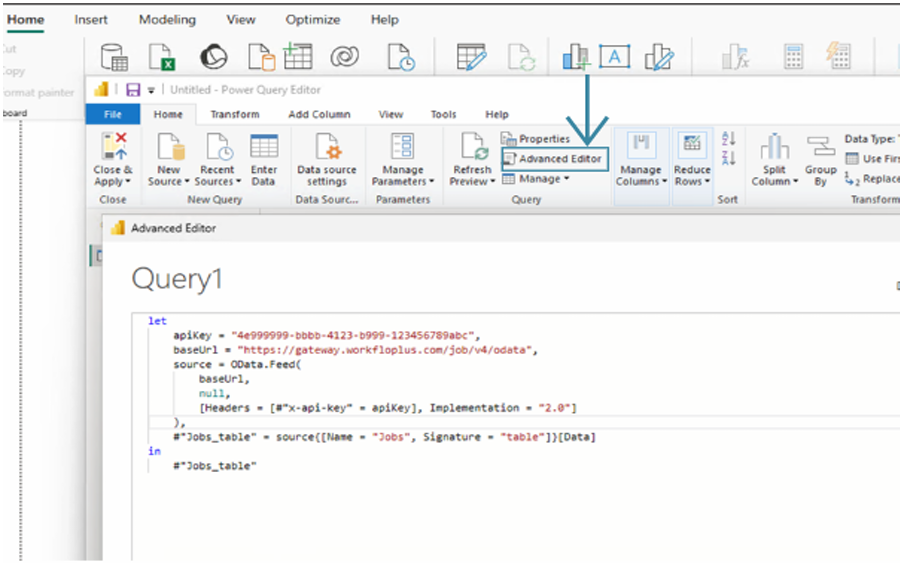
1. In the Power Query Editor, click Advanced Editor.
2. Enter the following snippet and replace the apiKey with your WorkfloPlus API Key
3. Click OK.
let
in
apiKey = "YOUR-API-KEY-HERE",
baseUrl = "https://gateway.workfloplus.com/job/v4/odata",
source = OData.Feed(
baseUrl,
null,
[Headers = [#"x-api-key" = apiKey], Implementation = "2.0"]
),
#"Jobs_table" = source{[Name = "Jobs", Signature = "table"]}[Data]
#"Jobs_table"
Step 4: Configure Dataset
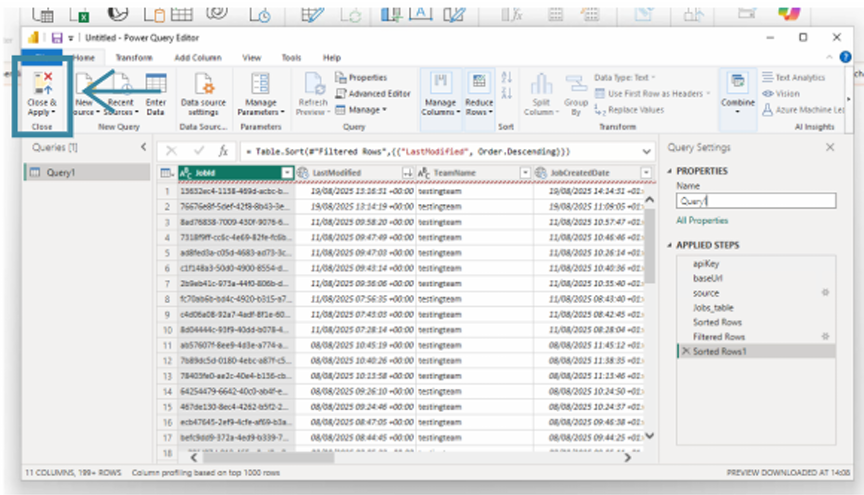
1. Power BI will attempt to connect to the endpoint and load a sample of data from WorkfloPlus
2. Apply any additional filters/data manipulation
3. Click Close & Apply.
Step 5: Work with your Data
Once the data is loaded, you can start creating reports and visualizations in Power BI.
Additional Notes:
- If you do not have an API Key - contact Intoware support and one will be provided.
- If you encounter connection issues, verify the OData URL + API Key and check for any network restrictions or firewall settings that might be blocking the connection.
Connecting to WorkfloPlus OData API Endpoint from Power BI