An asset can be a file attached to a step. This can be a photo / video / document / audio file that user should have access to when completing a step in a workflow. For example, a user might need to refer to a schematic or a technical document when carrying out a task.
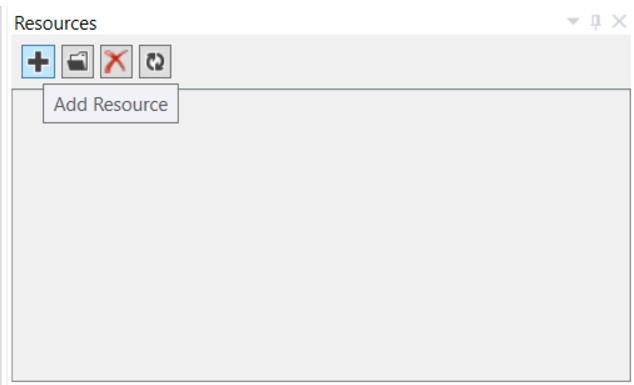
Assets are added via the Resources window in the Editor. Assets can only be added to Instruction, Input and Decision Steps.

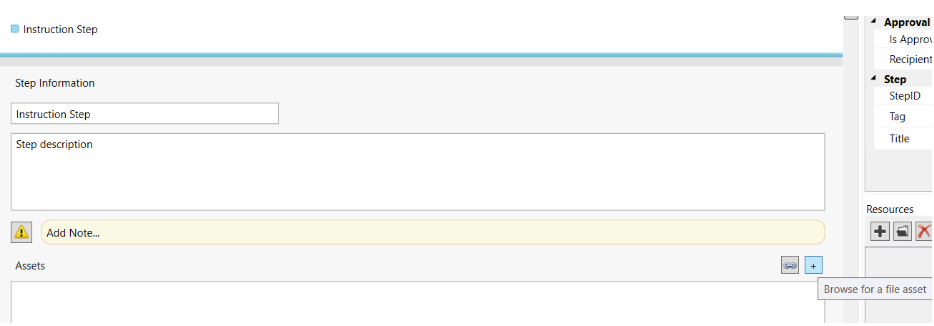
Assets can be uploaded directly into the workflow by clicking the plus button in the Step Editor Tab, browsing for the required file, selecting the file and click Open (and they will then show in the Resources window for use on other steps) or by clicking the plus button in the Resources window and following the same process. The Resources window shows all the uploaded assets.

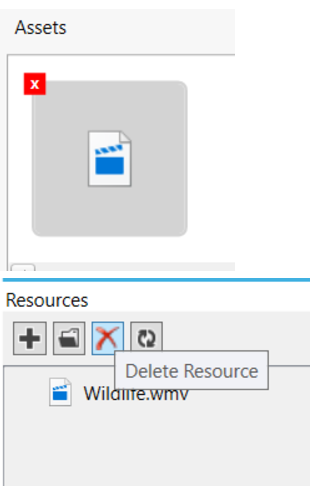
To attach an asset to a step, drag the drop it from Resources window to Assets Window in the Step Editor Tab.
To delete an asset from a step hover-over the asset in the Asset box and click on the red cross. Alternatively, to delete the asset from all steps, hover-over the asset in the Resources window and click on the red cross.

Adding Assets As Resources