HTTP integrations allow you to specify a rule such that an endpoint is sent an HTTP POST request whenever a job is completed against a workflow that is associated with the integration; integrations of this type are commonly called webhooks.
To set integrations you must have either Owner, Administrator, or Editor permission.
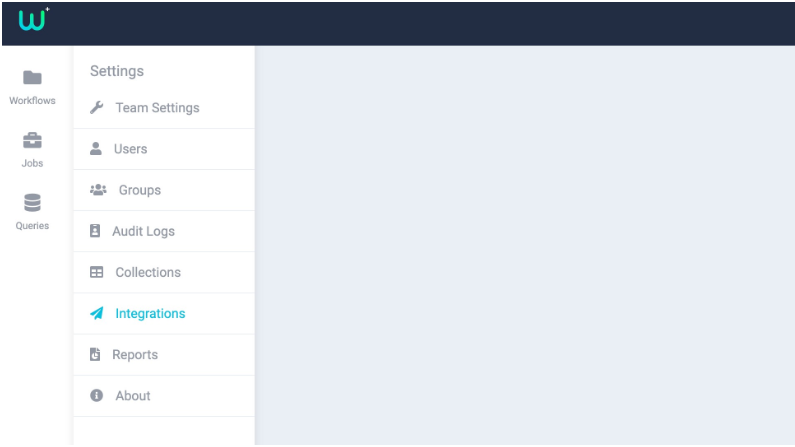
Start by navigating to the integrations settings by going to the Dashboard, then navigating to Settings, and clicking on the integrations button.
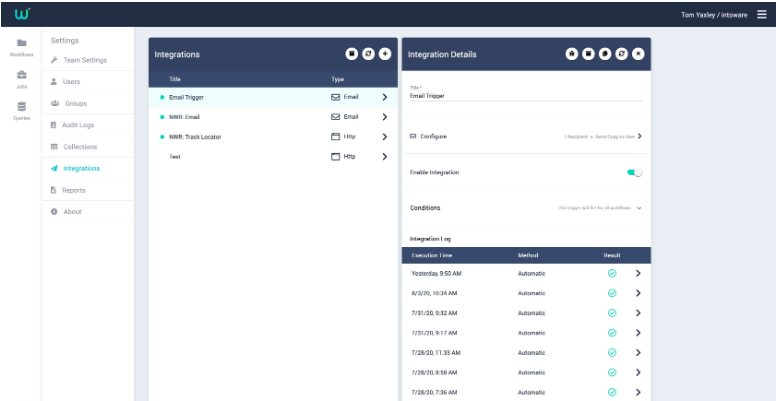
From this panel, you will be able to view the integrations name, and the last updated date, this will show as the date or time depending on whether it was last updated in the same day or historically.
You can also filter, search, refresh, and add integrations from this panel using the buttons in the view integrations header.
To open the integrations details panel, click on the integration you would like to view. This will open up the panel to the right of the list. From here you can view a summary of the integration selected.
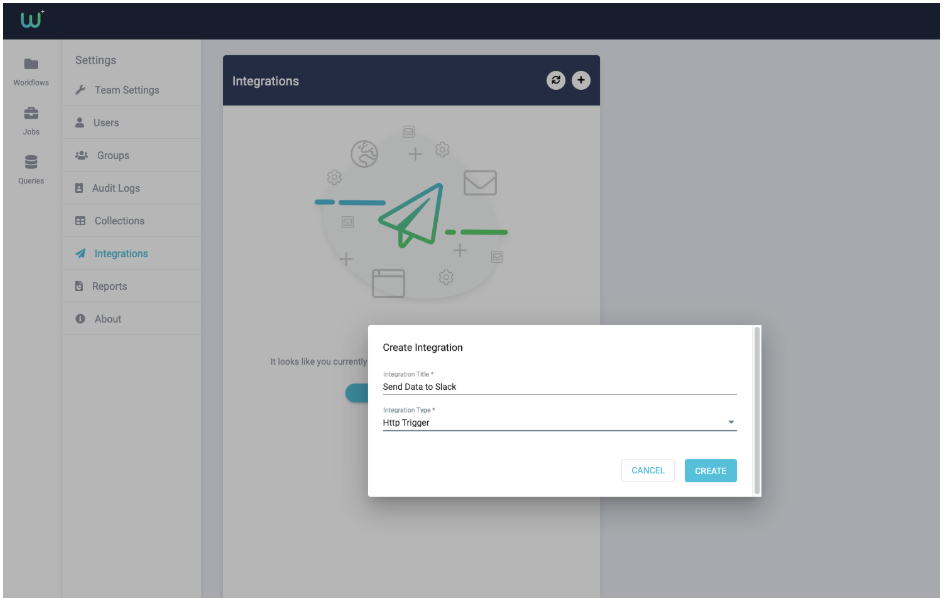
To create a new integration select the plus icon in the view integrations panel header; this will open up the Create Integration modal; into there enter the title for the integration and then select HTTP as the type.
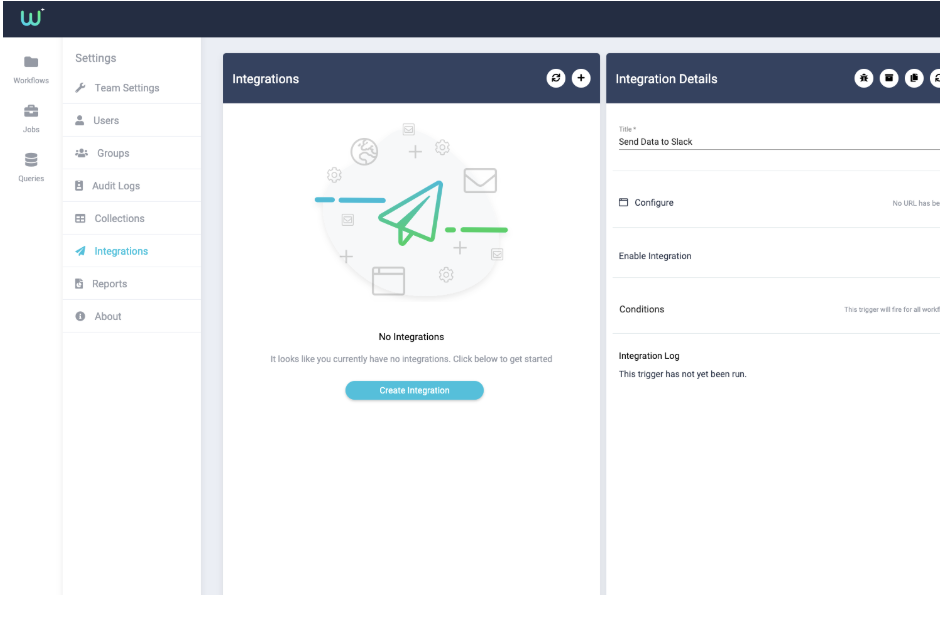
Once you've entered the information, click on the Create button and the Integration Details panel will open up to the right.
Configure
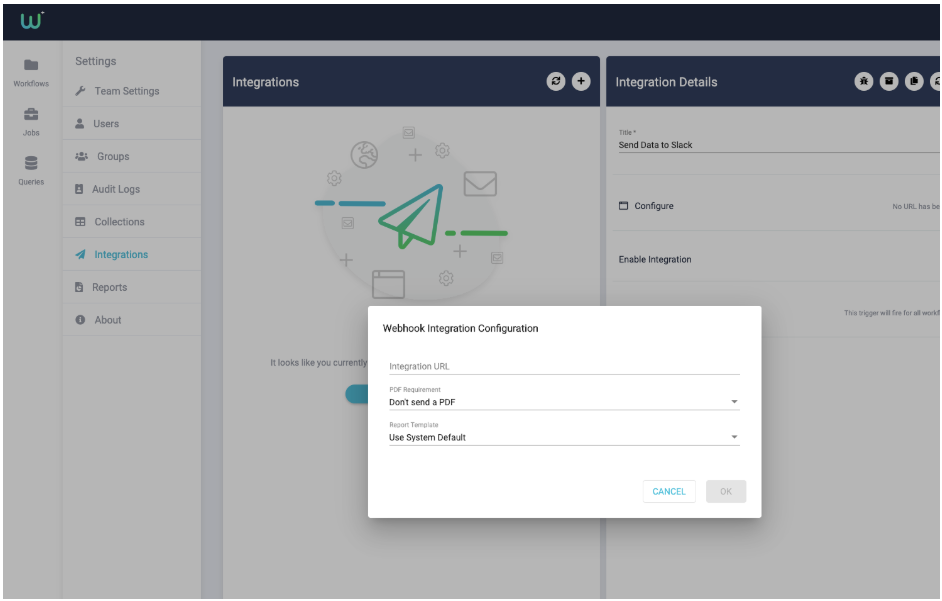
Report Settings
In this section, you can set your PDF requirements
- Don’t send PDF - Select this if you do not want to include a report as part of a integration email. In this case, an email is simply sent stating that a job has been completed, but it does not include the report PDF
- Wait for some images, then send a PDF - Images and videos can take a while to sync up to the server depending on your connectivity in the field. Image thumbnails may not be imperative for your report and you may require your report to be sent quite quickly after the job has been completed. If so, you can select this option to receive the report quickly after the job is finished, even if all images/videos have not yet synced
- Wait for all images, then send a PDF - The image/video thumbnails may be imperative to the report and therefore you can select this option to wait for all image/video thumbnails to sync up to the server before sending the report.
For more information on creating a report template visit our reports section.
Email Recipients
Here you can enter the target email addresses under email recipients and/or enable the send copy to the user option.
Workflows and Workflow Tags for Integrations
Finally, associate the integration with one or more workflows. By default an integration will fire for all workflows, however, if you want to associate the integration with specific workflows either specify them in the workflows for integration input field (look up from the list of all of your workflows) or enter one or more workflow tags in the workflow tags for the integration input field. If you enter one or more workflow tags, the system will look for any workflows with those tag(s) included, and the integration will fire for those workflows accordingly. For example, if you have workflows tagged with ‘maintenance’, you can fire this integration for all of those workflows without having to manually specify them as individual workflows.
Saving your Integrations
To save the integration settings, select Create integration, this will then show in your view integration panel.
Testing your Integrations
To test an email integration simply complete a job on one of the workflows associated with that integration; an email containing a summary body with a PDF report attached should be delivered to all recipients.
HTTP Integrations