All Workflows must commence with a START step and finish with a TERMINATE step. The START step is always provided for you automatically, however the TERMINATE step needs to be added at the end.
Connecting Steps
To add a step to your Workflow click on the preceding step and then select the step you want from the Toolbox on the left hand side and it will be added automatically.
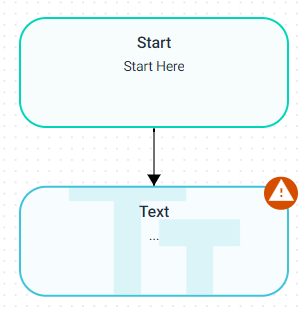
Alternatively you can click on the preceding step, click on the + and then select the briefcase icon. This will bring up a shortcut list of all the available steps.
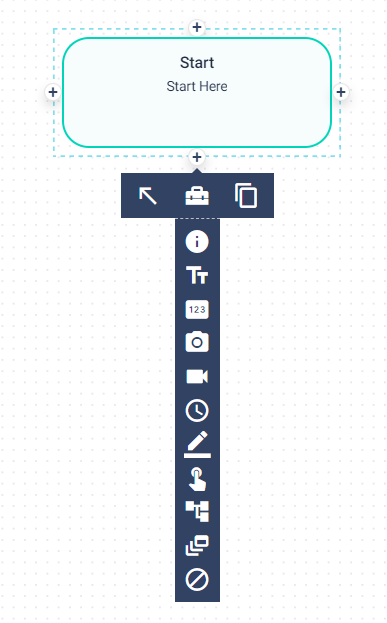
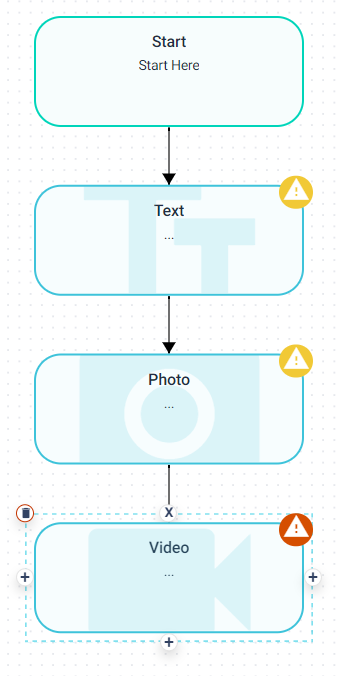
Once you have mapped out your Workflow design you can begin to build your process and add more steps, as needed.
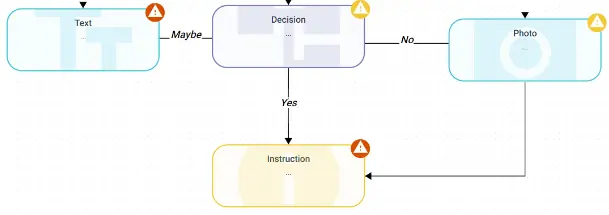
There is also an additional way to connect steps. In the scenario below 3 options are available to choose from in the Decision Step. The "No" path takes the user to a Photo Step which is currently orphaned. This Photo Step needs to connect to the Instruction Step on the Yes path. In this scenario steps can be connected using the + option. Click on the Photo Step to activate and then click on +. This will bring up 3 options: Connect Step, Toolbox and Copy Step.
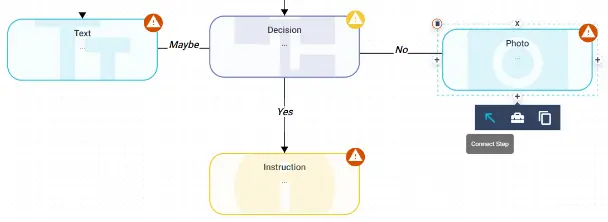
Click on Connect Step and all other available steps will also display +. Simply click on the + on the step you want to connect to.
Copying Steps
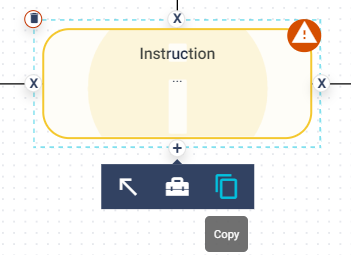
To copy a step click to activate and then select the +. This will bring up the options panel. Simply select the copy icon and this will automatically copy the
Deleting Steps
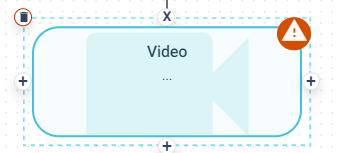
To delete a step click to activate and then select the bin icon (top left):
Deleting Connections
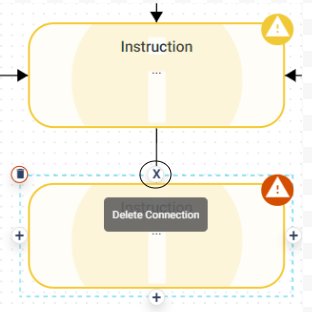
To delete a connection click to activate and then select the X.
PLEASE NOTE: Errors & Warnings will always be displayed at the start of your build because there is no TERMINATOR step. These are explained a bit further down this article in the Errors & Warnings section.
Designing & Building your Workflows