Getting Started with WorkfloPlus
Welcome to WorkfloPlus
Let’s Get You Set Up
This guide will help you build your first workflow, assign it to a team member and start capturing valuable data.
New to digital workflows? Book a free 30-min onboarding call and we’ll walk you through it live.


Step 1: Sign In
- Go to: web.workfloplus.com on your computer, tablet, or mobile.
Tip: Bookmark the link for easy access later. - Enter your team name when prompted.
- Choose how to log in:
- Enter your email and password to continue.
- Or you can choose to use Microsoft or Google login.
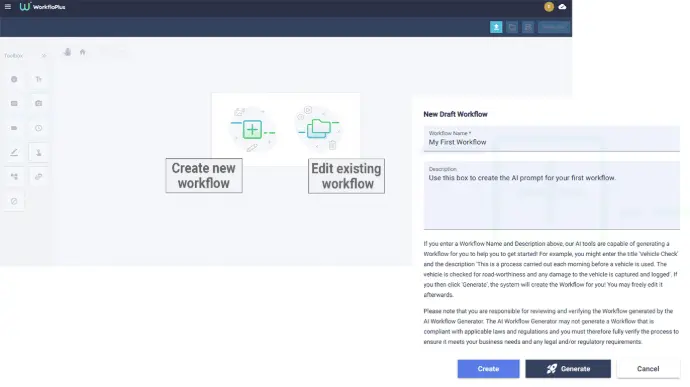
Step 2: Create Your First Workflow
You have three ways to get started:
- Select 'Create New Workflow' to use our AI-powered workflow creation tool to build a first draft in seconds
- Or, start from scratch with full control over every step and field
- Choose 'Edit/View Existing Workflow' to pick from one of the pre-built templates
Your workflows can include instructions, images, videos, input fields, decision steps, and more.
Visit the Knowledge Base for more information on workflow creation >
Not sure where to begin? A quick call can save hours.
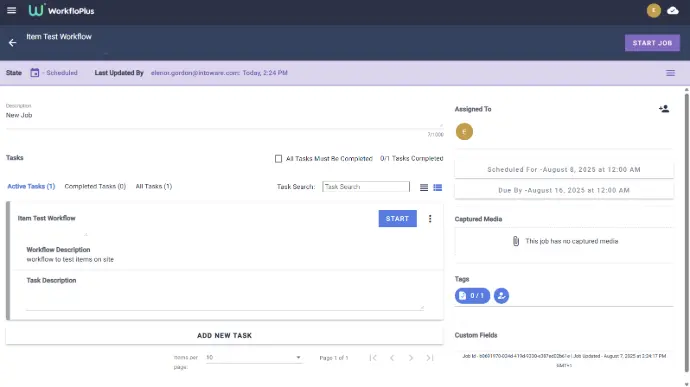
Step 3: Assign & Schedule a Job
Creating and assigning a job in WorkfloPlus is a quick, 3-step process:
1. Start a New Job
- Choose the New Jobs option from the menu at the top left of your screen.
- Click ‘New Blank Job’.
- Choose the workflow(s) you want to use from the Tasks dropdown.
- Give your job a Description, and optionally add any Custom Fields you need, and Tags to help identify it later.
2. Assign
- Assign the job to a user or group by selecting their names from the ‘Assign To’ list.
3. Schedule Job
- Choose a start date and time.
-
(Optional) Set a due date to keep things on track.
- Click ‘Create Job’ to save and notify your team.
Tip: You can monitor the job’s progress from the Dashboard and receive updates as tasks are completed.
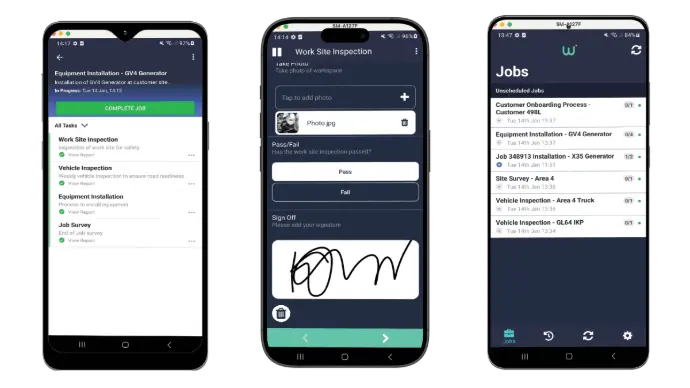
Step 4: Run a Job
Complete the task on the WorkfloPlus app or your web browser to unlock the full benefits of digitalisation:
- Capture live data on the job — including photos, notes, and digital signatures
- Track every action — with automatic timestamps and user accountability
- Flag issues instantly — trigger follow-ups or escalate exceptions as they happen
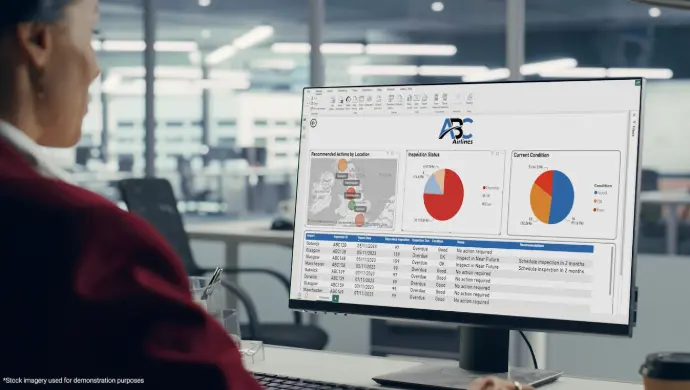
- Generate a complete audit trail — all actions are securely logged and ready for reporting or compliance checks
Want help interpreting your data?
We can walk you through what’s been captured, and how to make the most of it.
Step 5: Explore The Possiblities
WorkfloPlus goes far beyond digital work instructions. Once you’re comfortable, start exploring:
- Compliance: Build in checks, sign-offs, and audit trails
- Inspections: Create templated checklists for routine tasks
- Training: Onboard new team members with digital training
- Continuous Improvement: Use your captured data to refine how work is done
Need a hand getting started? We’re here to help.
Book your free onboarding session for one-to-one guidance with our team:
Help you build your first workflow
We’ll walk you through creating a real workflow from scratch — step-by-step, using your own processes — so you can see exactly how to turn manual tasks into structured digital instructions. No guesswork, no wasted time.
Show you how to assign it and capture data
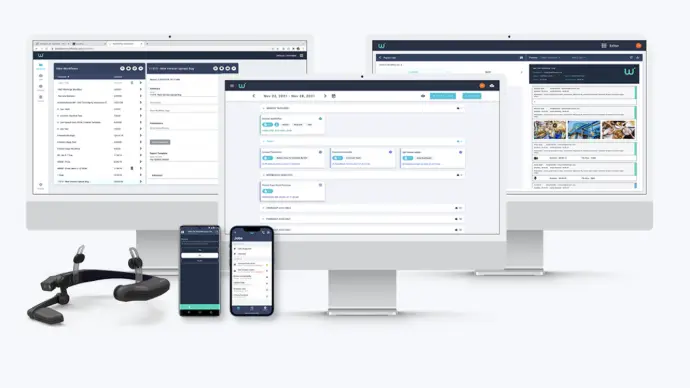
Once your workflow is ready, we’ll show you how to assign it to your team, schedule jobs, and capture data using mobile, tablet, desktop, or RealWear. You’ll learn how information is logged, tracked, and accessed — all in real time.
Tailored setup advice to your business or team
Every team works differently. We’ll help you customise your setup so it fits your specific environment — whether that means offline usage, multi-site deployment, compliance needs, or role-based access for your staff.
Book your free onboarding session >