If you wish to reuse a Job on a regular basis for scheduling purposes, you may wish to create a Job Template to make this quicker and easier.
To create a Job Template navigate to Job Templates via the left hand menu:

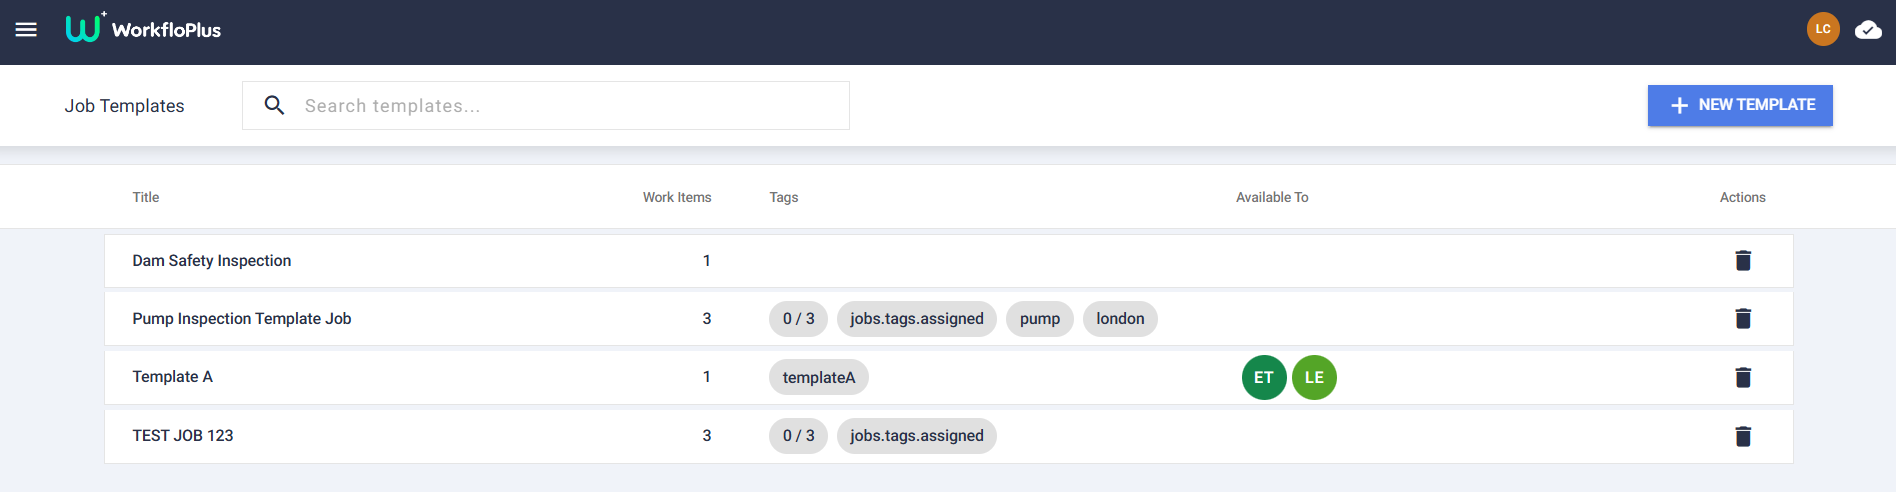
If any Job Templates have been created previously, these will be displayed on the main screen. To create a new Template click on the NEW TEMPLATE link, top right:

Job Template main screen:
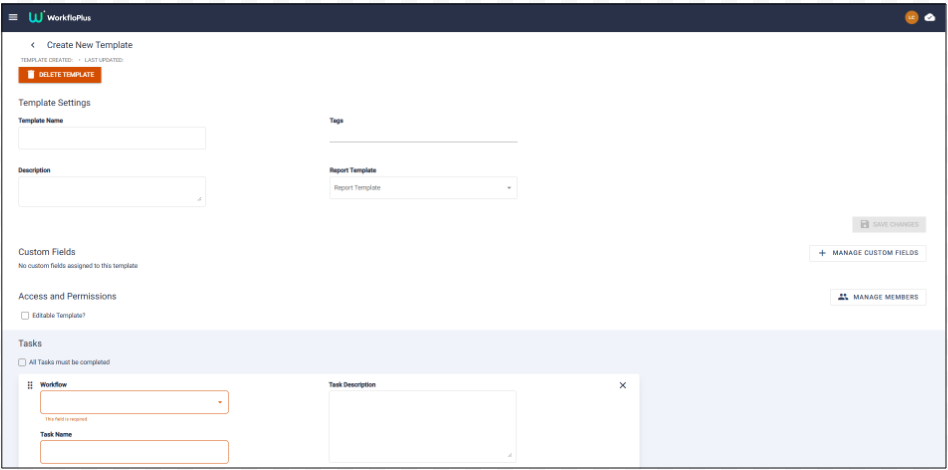
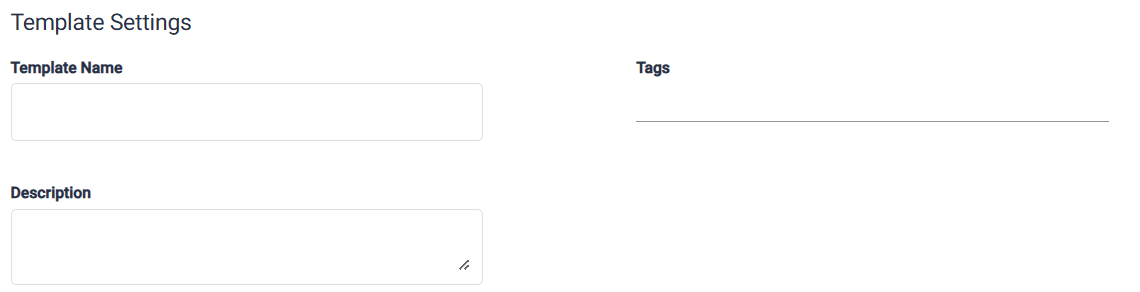
Please enter the Template Name and Description. You can also add specific Template Tags as well to assist with searching and filtering through results in the Job Browser. Simply type the Tag in and hit enter.
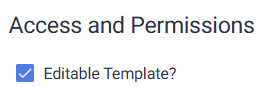
You can make the Template editable once it has been created by checking the box. If you want to lock down the template so no further changes can be made when scheduling a Job, please leave this blank.
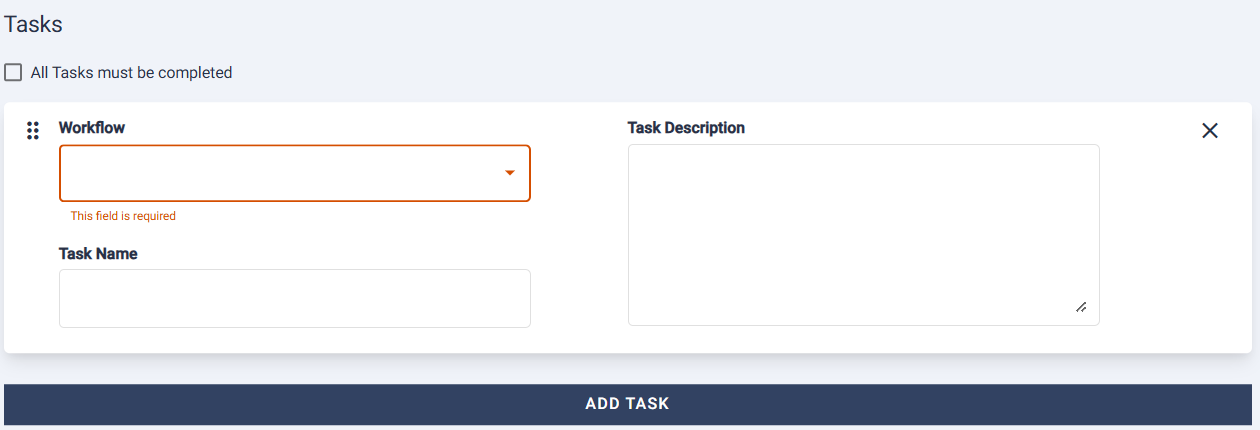
Once the key information has been entered at the top, start to build your Template by adding relevant Tasks. Select which Workflow you want to include, give it a Task Name and add a Description, if needed. If you want to add multiple Tasks, click on ADD TASK at the bottom. There is no limitation to the number of Tasks that can be added to a Template.
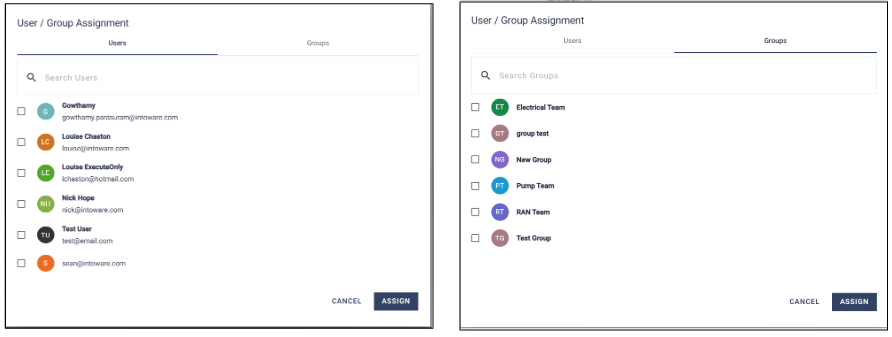
Once the Tasks and Template Information have all been added, you can Manage Members. This determines which users and/or groups are able to access and run Jobs using the Template being created.

Select Users and/or Groups to identify those who can access the template when creating Jobs , if nobody is assigned then the Job Template will be available to all users.
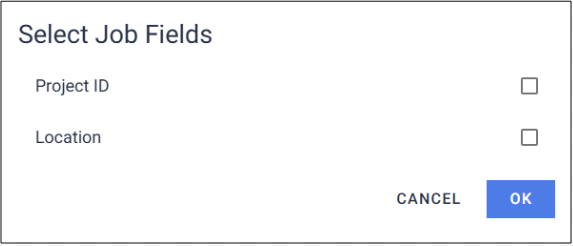
Should you wish to include any Custom Fields in your Job then these can be added via the following link:

Custom Job Fields enable users to quickly enter some predefined information as part of Job completion. A predefined Custom Job Field may be a project name, a location, an item reference or a customer name, for example. This negates the need for this information to be built into a Workflow/Task and can be completed quickly and easily before a Job commences.
Note: Before they can be added to a Job Template, Custom Job Fields need to be created/edited via Settings > Job Fields. See Custom Job Fields for more information on how to set these up.
Select which of the Custom Job Fields you want included in your Job Template by checking the relevant boxes:
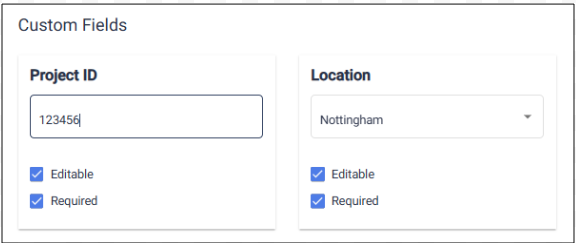
Once the Custom Job Fields have been added to your Job Template, and if required, you can complete these ahead of scheduling. It may be that these need completing as part of Job completion in which case they can be left blank. There are options to make the fields editable and/or required.
Finally click to save your changes:

Once you have created your Job Template you can select NEW JOB and then select the required template from the list. See Starting a New Job.
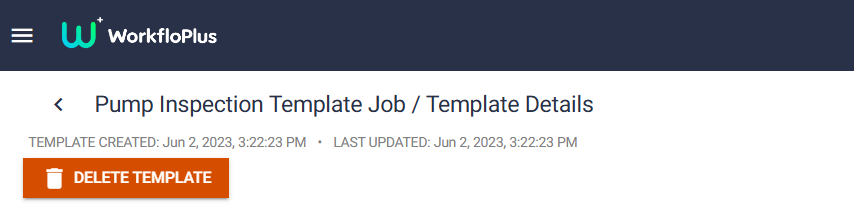
Editing/Deleting Job Templates
To edit an existing Job Template, select it from the list to open up the Job Template panel, make your required changes and then click to save. The amended Job Template will automatically refresh and update for any previously created/scheduled Jobs.
There is an option to Delete the Job Template from the Job Template panel when it is launched, or alternatively this can be done via the main menu by clicking on the 'bin' icon on the right side of the screen.
Job Templates